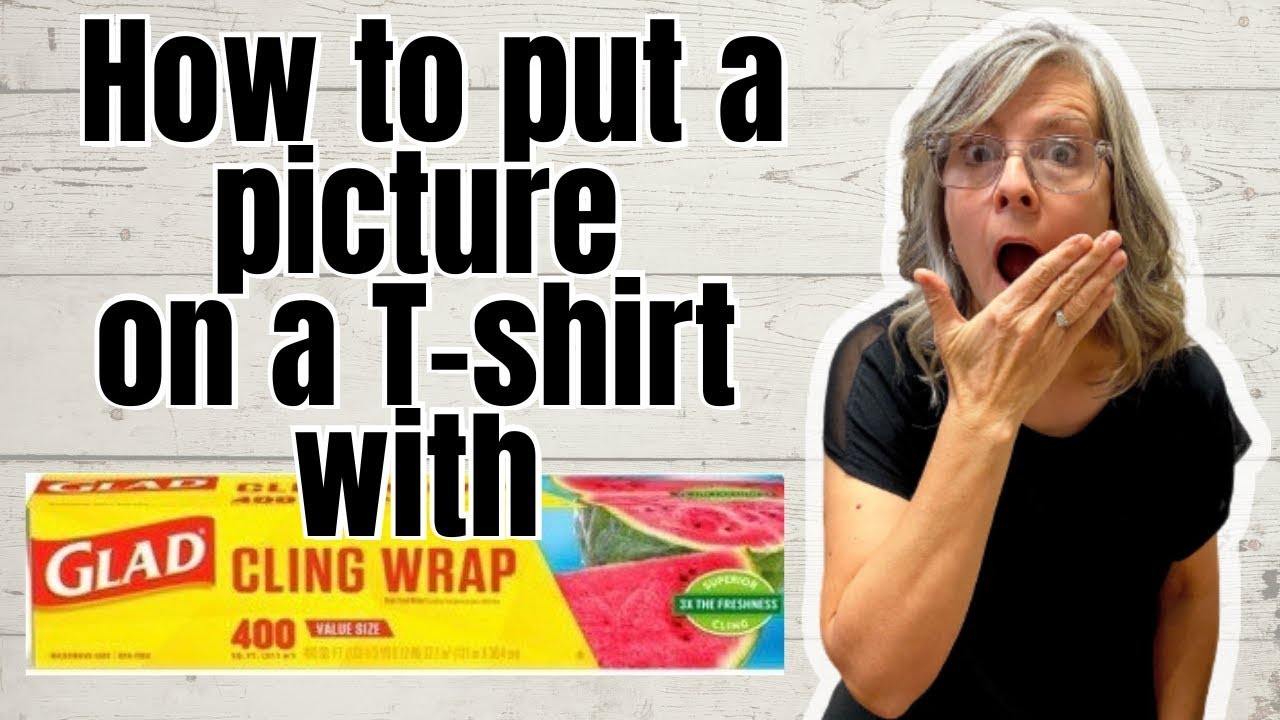
Diy Iron On Transfer With Plastic Wrap
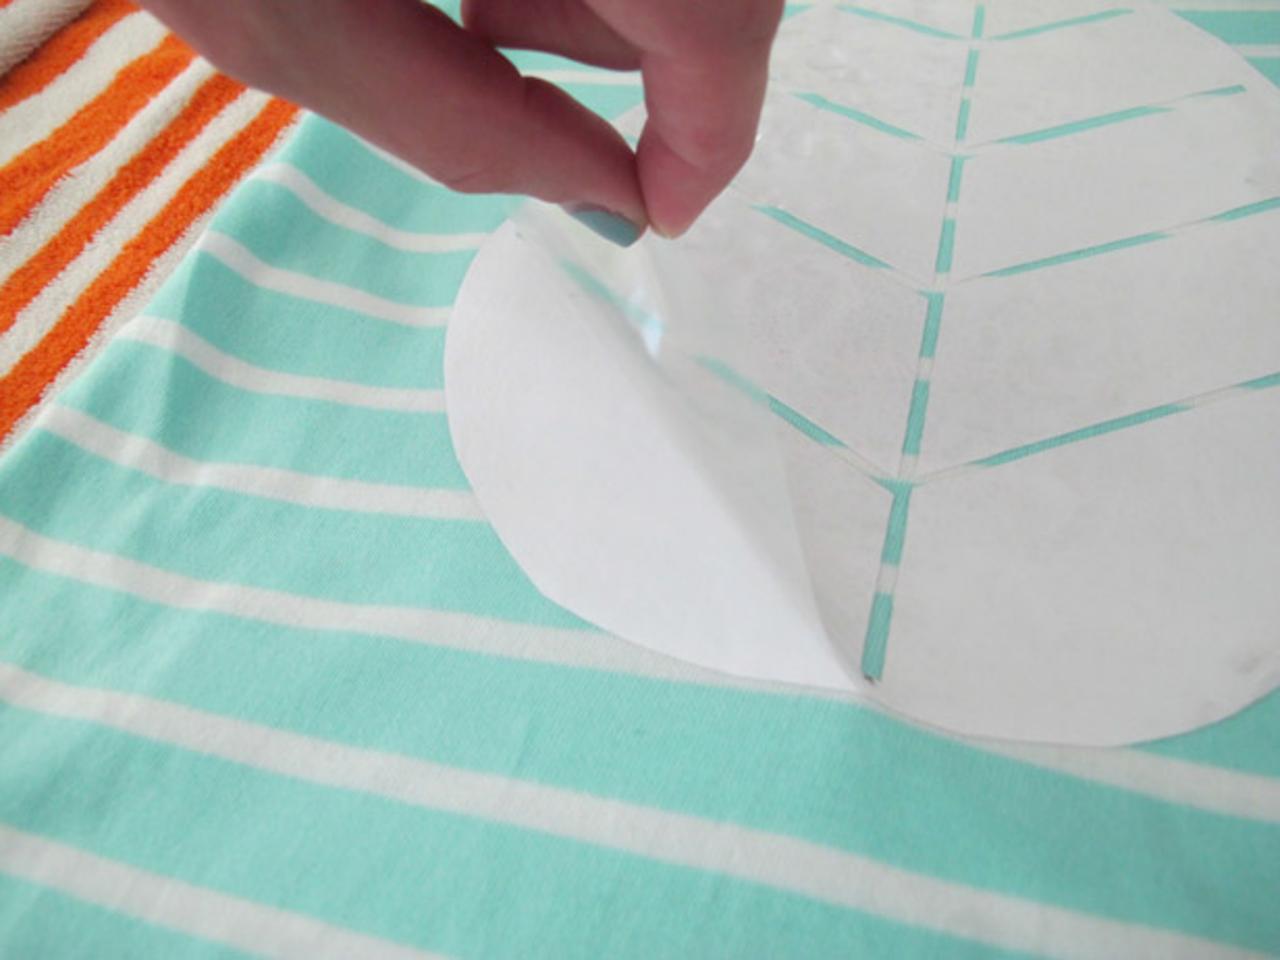
Printable shield transfer (download below) even though i’m including this in the sewing category, i cheated and used a premade pillow cover from ikea. Trim around the image you are transferring so you know what shape the image will be.

Making Decorative Paper Out Of Napkins Paper decorations, Diy iron on
First, you’ll need to open your image in your design software.

Diy iron on transfer with plastic wrap. Buy some transfer sheets, create the design and follow the casual craftlete in her steps of creating this adorable farmer’s market tote bag. Move the iron in large circles, applying pressure evenly so that the image attaches on all sides. Keeping the paper on the wrong side, color in with a pencil (i just use a standard no.
If doing a light colored fabric you want to wait to peel the backing. Up to 4% cash back check, check. 8 funky plastic animals diy projects.
Focusing initially on the outside edges of the image, and gradually work your way inward to the center of the image. If you see the transfer lifting at all. January 6, by stefanie girard.
Have you tried cling wrap image transfer? Then put a sheet of parchment paper over the top and iron it. Supply list for iron on pillow.
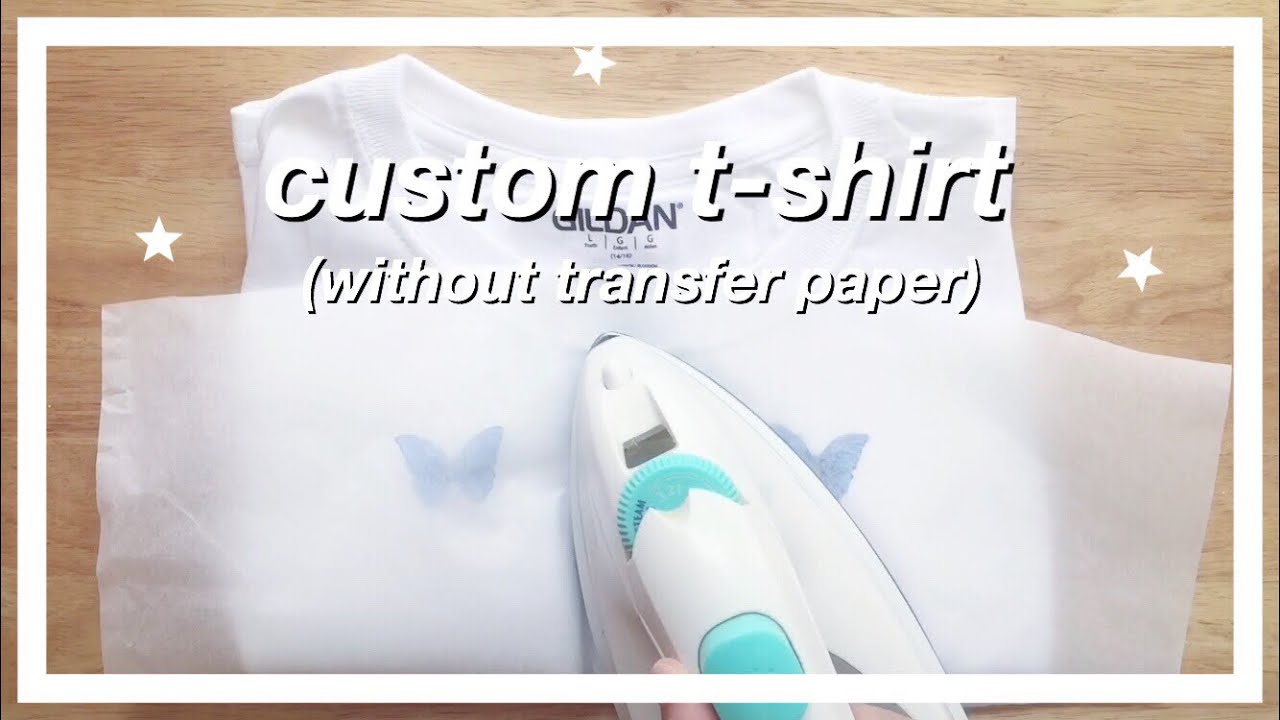
Set your iron to the hottest, dry setting you have such as cotton/linen. This is the “aina” pillow, it’s a nice generous size 20″ x 20″ , it’s white and made of a linen. If necessary use parchment (baking paper) to protect your fabric and prevent scorching.
How to transfer an image to fabric or wood with a. Then turn the image around and retrace over the image onto your surface. The next step will depend on what software you’re using.
If ironing sheet has been misplaced, substitute a silicon release sheet or baking parchment I had no idea you could transfer a paper image onto fabric using two layers of cling wrap. Iron the image by moving the iron around in large circles on top of the transfer paper.
It’s also dead simple, once you learn how. Cut the wax paper to about the width of a regular sheet of paper. Iron your fabric first to heat it up before placing over your iron on transfer.
It helps if you put the concave curving side down, i find. With your picture wrapped, it’s time for the final step. It's your stuff your way.
Once the transfer has completely cooled then peel off the transfer paper slowly. Gently press the iron, which should be set on medium heat, over the parchment, being sure to press the entire paper napkin. Water transfer printing, also called hydrographics or camo dipping, is the process that transfers an image or pattern to a 3d surface.
2 pencil) and color in where your tick marks are. Load the wax paper into the printer and hit print! Up to 7% cash back from $5.69.
For more videos like this one, take a look at our youtube channel! These 8 iron on transfer ideas, turn out your vegetable tote into a professional item with a vegetable print and some calligraphic digits like farmers mark. Now you have your image on the wax paper.
If you have a sheet of graphics ready to make into iron ons, you can just print the whole page onto the transfer paper then trim away each image as you're ready to place and iron it onto your fabric. You should be able to get at least two good prints from your transfer and up to 5 slightly lighter prints. Place another piece of parchment paper over the top of the layered cardstock and napkin completely covering the cardstock, the plastic wrap, and the napkin.
Disperse the iron's heat evenly. First, focus the iron on the outside edges of the transfer, then work your way to the center. Gently rub the iron on transfer for a couple of seconds with a soft cloth and peel the transfer.
15 diy wood decor projects. Place the garment on top of the pillowcase (you do not need an ironing board, and the transfer onto the shirt where you want to apply it. Whether it's your metal, wood, plastic, stone, bakelite, or ceramic products, hydro dipping puts you in charge.
4.7 out of 5 stars. You have to color the entire back of the image with pencil, using a little pressure. Be sure to consistently apply pressure and iron for about 3 minutes.
This will make it easier to correctly place and position it on your fabric. So, pick your hydrographics film and make it happen. Set your iron on medium heat.
When cutting stay close to the edge of your design to make the transfer on the image look seamless. Repeat this process for around three minutes. I’ll show you how to iron on any design with plastic wrap!
I haven’t tried this but i certainly am going to put this to the top of my “to try” list.

Diy Iron On Shirt With Plastic Wrap Can Can Dancer DIY with ironon
Diy Iron On Transfer With Plastic Wrap / How To Make Iron On Transfers

Diy Iron On Shirt With Plastic Wrap 5 Easy Steps To Make Your Iron On
Diy Iron On Transfer With Plastic Wrap How To Laminate Paper at Home

Diy Iron On Shirt With Plastic Wrap Can Can Dancer DIY with ironon

Diy Iron On Patches With Saran Wrap 3 Ways To Make Your Own Patches
![]()
How to transfer a picture to clothing using plastic food wrap COSTUME
Diy Iron On Patches With Saran Wrap 3 Ways To Make Your Own Patches

TikTok DIY Fail (shirt transfer with plastic wrap) to Successful Tie

super easy decoupage card with iron, plastic wrap DIY ideas decorations

Diy T Shirt Transfers DIY Drawing TShirt Transfer MyPrintly Take

Diy Iron On Shirt With Plastic Wrap Can Can Dancer DIY with ironon
![]()
How to transfer a picture to clothing using plastic food wrap COSTUME
![]()
How to transfer a picture to clothing using plastic food wrap COSTUME
ironon CUSTOM tshirts (saran wrap method) YouTube

Tshirt ironon DIY plastic wrap, printed paper, iron, parchment paper

Diy Iron On Shirt With Plastic Wrap Can Can Dancer DIY with ironon

Diy Iron On Shirt With Plastic Wrap Can Can Dancer DIY with ironon

super easy decoupage card with iron, plastic wrap DIY ideas decorations